
I'm starting a new baby quilt and it will have some applique flowers along with some pinwheel squares. I thought there must be some easy way to make them that I could learn, so I searched the web. I found this great video that really helped me. You can watch that, but since you're already here you can also check out my little tutorial.
I want my pinwheels to be 5" when finished (5 1/2" unfinished). I cut 2 squares of the different fabrics 5" each.
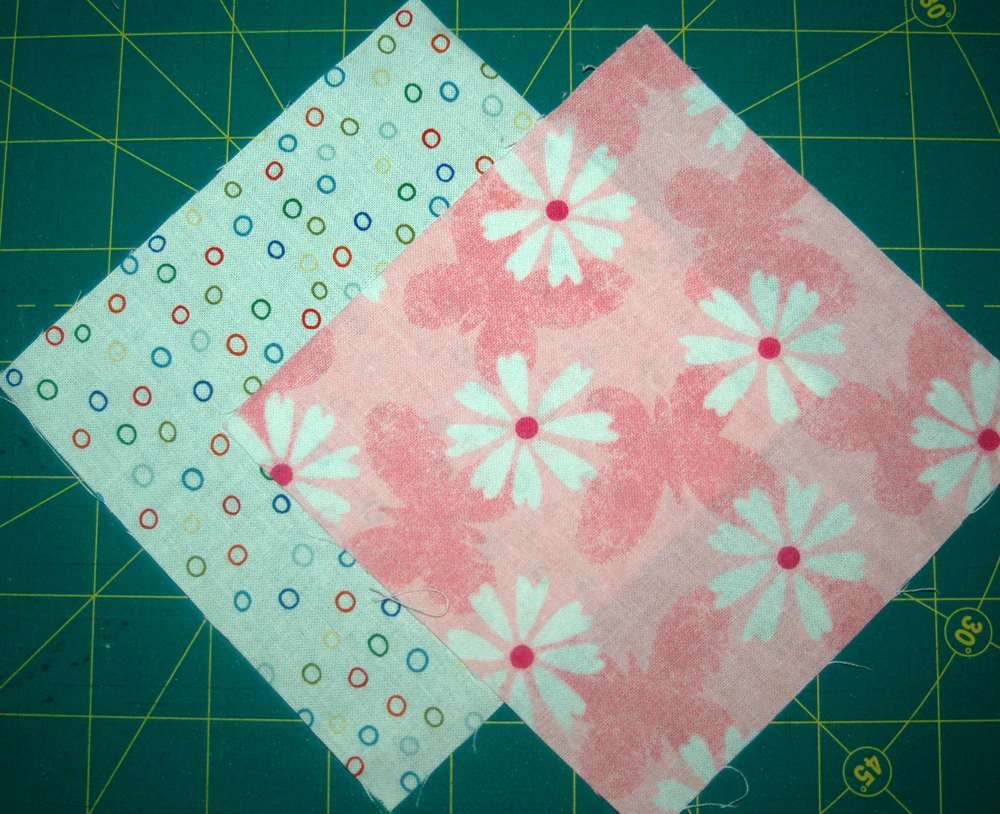
I place them right sides together.

Sew 1/4" around all 4 edges. You are sewing it closed.

Cut diagonally through it once.

Cut diagonally through it once more on the other corners.

Now you have your 4 half squares triangles all sewn together so easily.

You press the seams all towards the darker color and lay them out for sewing just as you want the pinwheel to look.

See what can happen when you don't pay enough attention? Time to rip.
 |
| Whoops! I wasn't watching my layout! |
Sew 2 squares together.

Cut the dog ears off. That is very important if you don't want a lump in the center.

Sew the 2 halves together. It's important to make sure your seams match up together.
Mine don't quite match up. I can do better than that.

In the center of the finished square I snip on the seam 1/4" on each side so I can press each side towards the darker color. I also open up the center and smash it with my finger and press it open. That keeps the center points from being one big lump.

My square is a little larger than the 5 1/2" which is how I like it. Better too large than too small. I can always trim it down. Trim it to 5 1/2".

See the mistake in this picture? When you've done one square it's always important to keep it on hand to make sure you place the others in the same manner. Otherwise there's more ripping to do.

A nice clean cut and pressed square is always a pleasure to look at.

Wow! Even I understood how to make the pinwheel square! :-). Looks like it will be a cheery quilt! I like the colors.
ReplyDeleteThank you! I literally was thinking I wanted to do a pinwheel quilt but dreaded doing those triangle! Now I can start!
ReplyDeleteGreat tutorial, I love pinwheels and I havent seen them done like this before. Thanks so much for linking up to Tutorial Tuesday, Im loving reading the tuts that people post. Please could I ask you to put a link in your post over to the link up page or my homepage. Thanks so much
ReplyDeletehttp://lawsonandlotti.blogspot.com/2012/01/tutorial-tuesday-no2.html
Very helpful tutorial Elaine! I like how you twirl that center point. And in my book, it is always a plus to have room for trimming thing down, LOL.
ReplyDelete