I've decided to start a bakery. A felt bakery. I already have made a few cupcakes. Now I've done a cake.
I looked at many tutorials online and took some ideas from several. So now I have a tutorial for you.
I cut 2 circles of carboard at 6". I used a saucer for my template. I wanted 3 pieces of cake out of an 8 piece cake. That is how I marked it.
This is a chocolate cake with pink frosting. I cut the bottom pieces and the top pieces just slightly larger than my cardboard.
These are the sides of the cake. I ironed heavy interfacing to the backside to give it more body. These pieces are 2 1/4" high. Measure around the edges to give yourself the right length of the strips. And add 1/4" on each end for seaming.
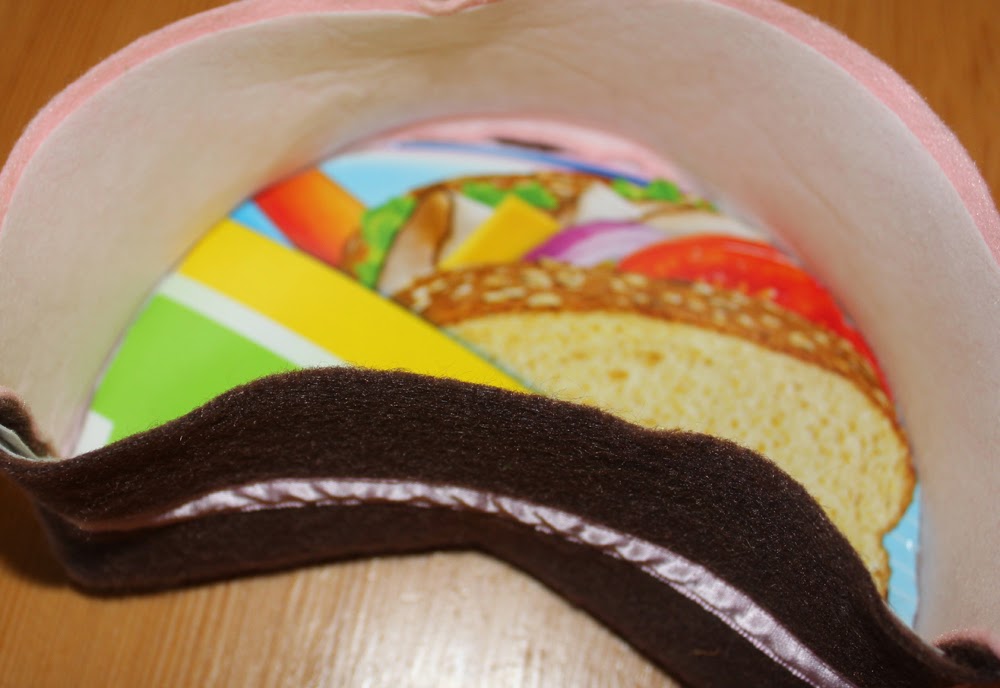
I sewed ribbon on the chocolate piece to separate the cake into layers.
I machine sewed the chocolate strip to the pink strip with a1/4" seam. I laid it carefully with pins to the chocolate bottom and machine sewed 1'4" seam. It is important to match the seam up with the corner of the cake.
Put 1 cardboard piece in the bottom.
Mark the top of the cake where you want the dollops of whipped cream. Sew small pieces of velcro to those spots.
Then buttonhole stitch the top to the cake, adding stuffing as you go. Before it gets too closed,slip in the second piece of cardboard to make the cake firm on top.
Cut all your felt for the pieces of cake. Make sure to add 1/4" to the sides and chocolate bottom of the cake. I used my cardboard cuts as templates.
As for the cake, add the interfacing and ribbon to the sides of the cake.
Sew them as you did the cake to the bottom chocolate piece and add your cardboard.
Cut a piece of thick polyester batting and roll it up.
Put it inside your cake.
Buttonhole stitch your pink top that also has a piece of velcro added for the whipped cream.
Make sure to put a pin in the center of the chocolate side so that your point ends up where it should.
Now for the whipped cream dollops. There are several templates on the web. I found one and still adjusted the size to fit what I wanted it to be.
I cut my felt from the template and added the other side of the velcro to it. This is the outside of the dollop.
Get a piece of long thread doubled up and sew through all the tips around the circle.
Add a tiny bit of stuffing. It doesn't take much.
Pull it all together tightly and stitch through all the points again and bring it to the back. Add a couple more stitches and secure it and it is all done.
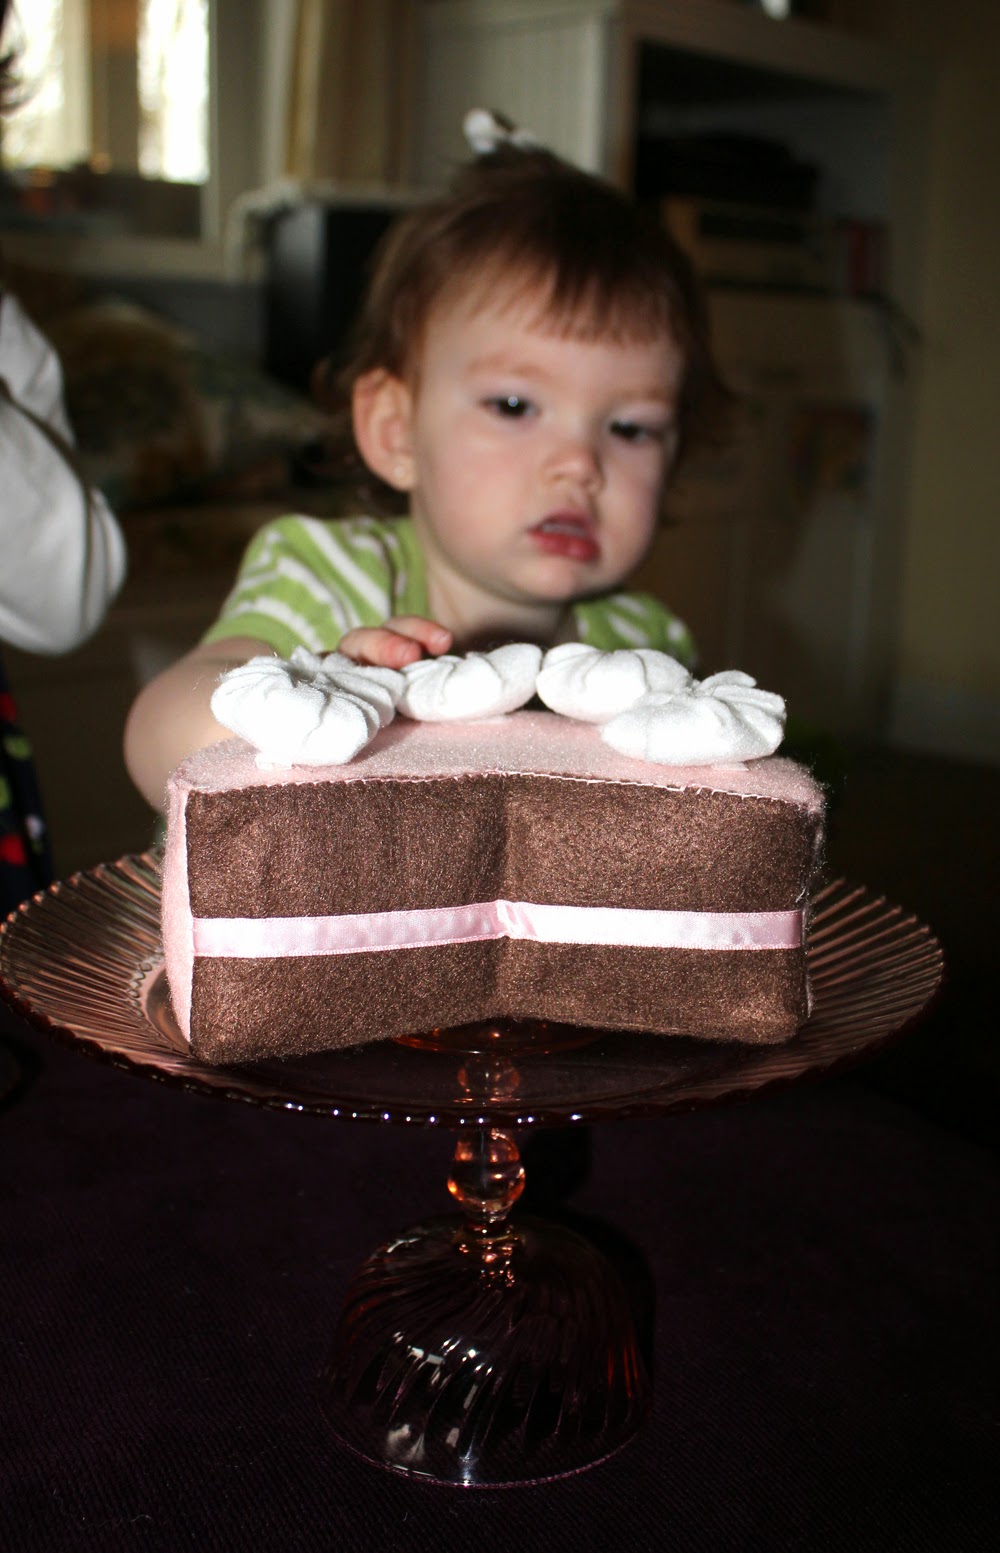
Now you have a beautful cake with pieces ready to serve.
What should we do with it?
Have a Party!!!